Sonntag, 22. April 2018

Clutch slave cylinder, take 2...

After exactly 6 months, the clutch slave cylinder gave up again. On my way to work the pedal slipped down and didn't came back. Luckily, there was a little fluid left so I was able to shift the gears and ride the car to work. I called a friend who brought along some brake fluid to top up the tank for the way home. That worked o.k., so I managed to drive the Porsche back home without harm to the gearbox.
When I checked from below the vehicle, an already familiar failure was obvious:
Hydraulic fluid from the slave cylinder on the clutch fork...
 
This time, I wasn't interested in yet another cylinder repair, I ordered a new one. While I was at it I noticed that one of the contact points on the starter motor was broken, too. Somebody messed with it already, as there some traces of silicone and bodged repairs...
There is a lot of current running through these wires and I am not keen to see the car bursting into flames - This had to be fixed, now!
A new starter costs ~300 € - but the starter itself was working perfect, only the starter magnet was bad. Luckily I found a new replacement starter magnet for 30 €. The repair was a little tricky because someone has been here before:
Nothing a drill bit can't handle... The replacement fits perfect and also works like a champ.


 Also, the sticker says o.k. - so it must be good then, right?
All contact points are exactly the same, fitment is perfect, the only difference is a Philips screw instead of a 8 mm hex nut to attach the starter signal cable. Time will tell how good it works...

Now on to the clutch cylinder story: The repair set from Porsche was definitely o.k. - I guess it was me who messed up. The inner surface of the old cylinder just wasn't clean and smooth enough, before I re-assembled the service kit. It only took 6 month to wear out the new seal. This time I ordered a brand new cylinder:

Here it is, already assembled to the clutch bell housing.
Bleeding the system was a little tricky, but now the clutch and starter a fine again!


Samstag, 17. Februar 2018

Front strut issues resolved, once and for all!

Today we finally found the issue with the front struts! After countless strip down and reassembly sessions of the front struts, we found the mistake - which I made during assembly! When you go back to the beginnings of this blog, you might find this picture - the root of all evil!
In an attempt to do only the best for my new shock absorber cartridges, I used an "old trick" and filled the strut with oil to cool the strut... BIG mistake!!!!
The trick was used in the olden days, when oil pressured shocks were used. The Bilstein inserts are gas filled cartridges. There is a valve in the bottom of the cartridge which "breathes", depending on the movements of the shock absorber. Now, what happened and how did I found out?
When I took the strut apart today, I told my buddy to be careful, cause the strut is oil filled. When we poured the oil, it was almost nothing left of the initial 100 ml I inserted, maybe 10 ml only?

Then I tried to compress the cartridge all the way to full droop. I was irritated by the fact that it only worked about half way, then was totally blocked...
Here is the reason why, the valve basically sucked in all the oil, which then acted like a hard stop. So, the strut actually bottomed out on every pot hole and gave a harsh impact to the body!
Then we inserted the cartridge upside down in a bench press and tried to gently push the oil out:
after a while it started to bleed, then we gradually added more pressure:
You can see the oil pour down alongside the piston rod! Slowly but surely, it all drained out - but: is this thing still in perfect order, after all that oil ran through it's gutts? I wasn't convinced, so a trip to 
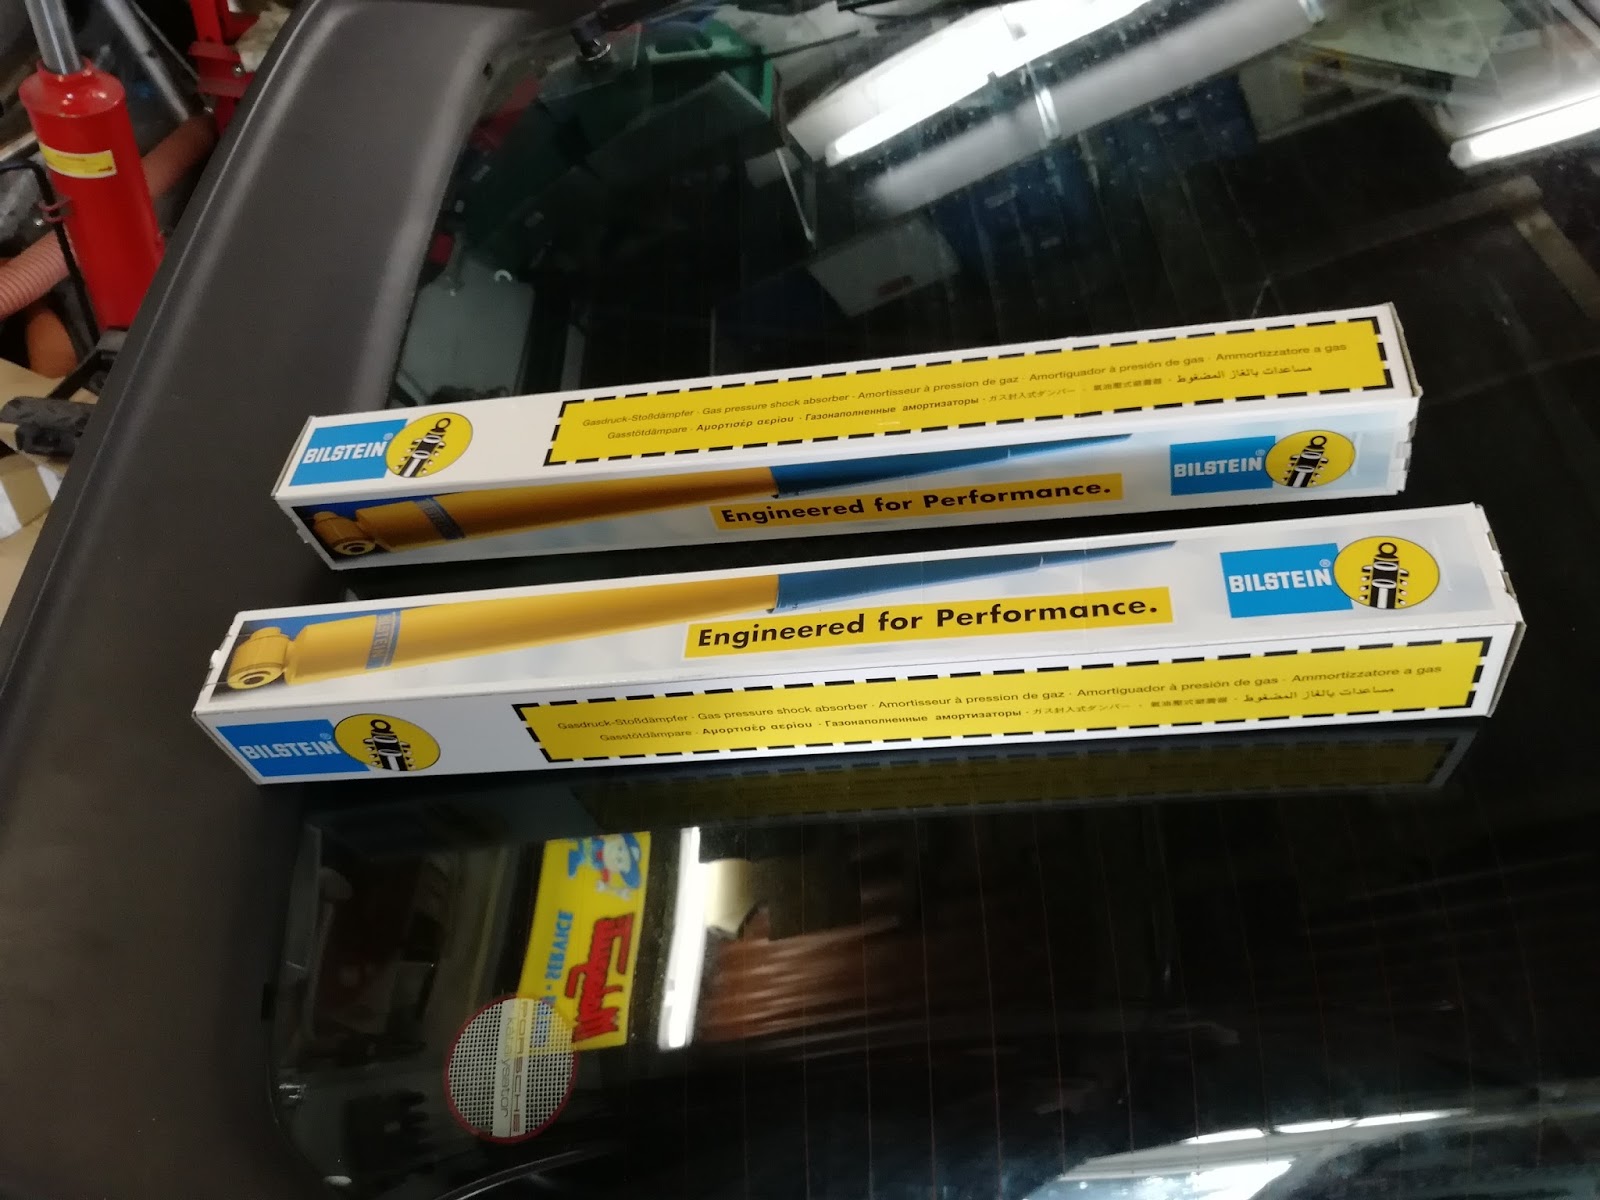
Mittelmotor was required to buy another pair of inserts, this time B6 Sport - a hair stiffer than the standard B6.
Interestingly enough, on the left strut the oil was still in the strut - I don't know if this insert wasn't o.k. and for whatever reason the valve didn't work - or maybe it wasn't that much stressed, as most of the pot holes are on the right side of the street. Nevertheless, we exchanged both struts.
Now, finally everything works well. I hope it stays this way. Happy days!

Montag, 12. Februar 2018

Sealing a seal?!

When I purchased a new hatch seal, I was fully aware of the fact that it had to be installed using a sealant in the clamp-on channel which attaches to the body. This is also what the website of kyle, only 944.com makes very clear. I was a bit lazy and gave it a try without sealant. To no surprise water ingressed into the boot, due to the capillary effect of water creeping virtually everywhere.
So I bought a cartridge with an elastic sealer and applied it today:
This shall do the trick!
While I was in the garage with the heater working, I also applied a light tint to the back-up lights:
before:

after:

It is a self-adhesive foil which can be removed, when I want to backdate the Porsche again later!

Samstag, 6. Januar 2018

A nerve wrecking job...

I managed to attach the Porsche script onto the back - which is a nerve wrecking job. I measured and adjusted the 2-piece sticker for almost 2 hours, before I finally attached it! A special thank you goes out to my friend Rui, which allowed me to use his hoist - otherwise this job is almost impossible to achieve!

First I marked the center of the vehicle and the center of the sticker, then I attached a few strips of tape in the center and below the tail lights to mark the perfect height  (these mark ups have to be in an area between the individual pieces of the sticker):


On the upper protective layer of the sticker I marked the upper and lower edge of the text, then I cut away some bits of the protective layer in those marked areas, so I was able to adjust it perfectly right:


Marking and lines are matching...

.. on both sides:

Then it was time to take a deep breath and finally attach it, this is the result:


I Also bought some 3M Scotchcal adhesive to black out the area between the tail lights:


and here is the direct comparison:


I like the contrast, it makes the rear look wider and less boring :-)

Currently I think about a black 3M gravel guard sticker on the rear fenders, similar to those:
(Picture found on strongauto.net!)